Signing Revv documents
- 18 Jul 2022
- 3 Minutes to read
- Print
- DarkLight
- PDF
Signing Revv documents
- Updated on 18 Jul 2022
- 3 Minutes to read
- Print
- DarkLight
- PDF
Article Summary
Share feedback
Thanks for sharing your feedback!
Signing a Revv document is very easy and quick. Revv documents can be eSigned anywhere, anytime, and from any device.
Follow these steps to eSign a Revv document:
- Check your inbox for an eSign request email from your sender or sender’s company. For example, Jane Doe via Revv, Acme via Revv, etc.
.png)
- Open the email, go through it, and click the SIGN DOCUMENT button.
- The document is opened in your browser. Ensure that the sender details are right and the document is meant for you.
- Once the document opens, review the document and check all the details.
- Once you are ready, provide consent by clicking the I agree to sign this document electronically checkbox.
- This step is mandatory to move ahead in the process as anybody using eSign must agree to the usage of electronic signatures and records.

- If you change your mind, you also have an option to decline to sign the document. To do so, click More (፧) on the top right corner of the screen and click Decline.

- This step is mandatory to move ahead in the process as anybody using eSign must agree to the usage of electronic signatures and records.
- Click the Start Signing button. You will be navigated to the places where you must eSign.
- Wherever a yellow Sign Here arrow appears, click the Click to sign tag. Revv offers four ways to eSign a document.
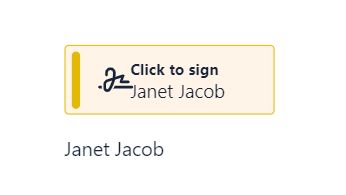
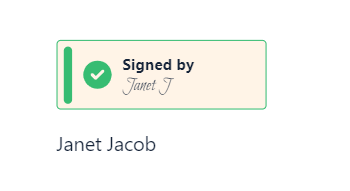
- Click the Adopt Signature button to record your signature. The tag turns green when the eSignature is placed successfully on the document.
- Repeat this process to sign in other places as well.
- Once done, click the Finish Signing button on the yellow banner at the top of the document.

- The banner turns green and states that the document is signed successfully.

- The banner turns green and states that the document is signed successfully.
.png)


All the places where you have eSigned will now have your digital signature stamp along with the date and time of signing and IP address.

Once the document is successfully eSigned by all the signers, you will receive a confirmation email with a link to access the signed PDF document.
Did you know? If the sender has set an expiry date for the document eSign link, you will notice an alert on the top when you open the document.
If you fail to sign the document before the link expires, you must send a request to the sender to extend the document expiration date. |

Different methods to eSign a document
Revv provides four distinct options using which you can record your eSignature in a document. Let us learn about them in depth.
Method 1: Text
In this method, you can choose your signature from the pre-formatted styles. You also have the flexibility to personalize your signature based on your name. For example, if the signer’s name is Janet Jacob, then in this option, the signer can personalize the name as JanetJ, JJ, JJacob, or in whichever way they want to place their signature.

Method 2: Draw
As the name says, you can draw your signature using a mouse. If you are using a mobile phone, then a digital pen or finger will work.

Method 3: Upload
You can eSign your wet-ink signature using this method. All you have to do is scan your wet signature and upload the image to the document.
.png)
Method 4: MetaMask
With Revv, you can amp up your eSigning game by signing with an Ethereum wallet. If you have a MetaMask wallet, you can connect with it and place a cryptographically-secure eSignature on the document.

Note: If you are an authenticated auto signer in your organization’s Revv account, then the document will be automatically signed. You will also receive an email about the same. |
Post-signing actions
Once you have signed the document, there are a couple of things that you can do to preserve your document.
Download the Evidence Summary
Revv’s Evidence Summary is the legal proof that stores all the actions taken during the signing process. It validates the completion of an eSignature by all parties involved.
You can download your document’s Evidence Summary once all the signers have completed signing the document.
Follow these steps to download the Evidence Summary:
- Click the Notepad icon on the top right of the screen. It contains all the document details such as the Document Name, Signers, Date, etc.

- Click the Download icon next to the Evidence Summary Certificate.
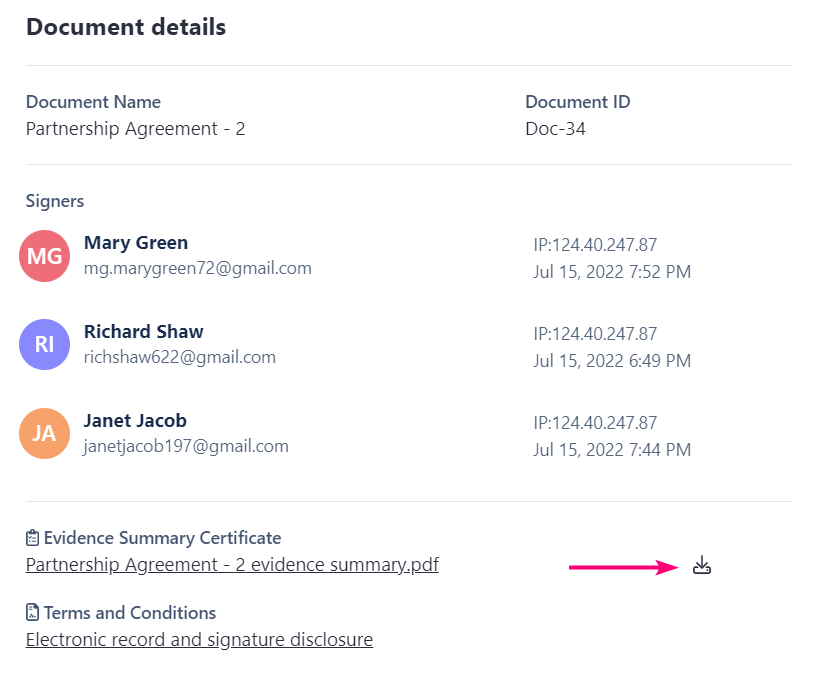


The Evidence Summary document is downloaded to your system.
To know more about Evidence Summary, click here.
Download the document
Once you sign the document you can download it and save a copy for yourself. To download the signed document, click the More (፧) icon in the top right corner of the screen and click Download. A PDF copy of the document is downloaded to your system.
.png)
Was this article helpful?