Working with Metadata in Revv
- 24 May 2022
- 3 Minutes to read
- Print
- DarkLight
- PDF
Working with Metadata in Revv
- Updated on 24 May 2022
- 3 Minutes to read
- Print
- DarkLight
- PDF
Article Summary
Share feedback
Thanks for sharing your feedback!
Metadata is data that describes other data. In other words, Metadata gives in-depth information on data that contains actual content like text, images, video, etc. For example, whenever you create a document (data), the details of the document like the Author Name and Document Created Time (metadata) get recorded automatically. Metadata helps us understand any data by providing a summary and description of it. Metadata is further used to label, organize, and classify data, making finding data easier.
In Revv, all new templates or documents are embedded with system-generated metadata like Location, Document Creation Date, Owner, etc. These are automatically created and stored as Template Details or Document Details whenever you create a new template or document.

But what if you want to change the metadata or create metadata of your own?
Try Metafields!
Revv enables you to add metadata of your own to store other custom information like secondary owners, batch name, gender, etc. These are called metafields. You can create a group of individual metafields for a template or document whose functionality is the same as form fields. The only difference is that metafields are not visible in the template or the document.
Using metafields, you can preserve documents in an orderly manner and easily fetch a particular document when in need. You can also reuse the data in the future based on your business needs.
For example, you might want to store the batch details of all students in your school. To achieve this, create a Student Application Form template and add metafields to it like batch name, batch year, etc. So now, all the applications will have metafields embedded in them by default that can be further used to segregate students according to batches.
In Revv, you can add metafields in two levels — Template level and Document level. Let us dive in and understand more about them.
Template Metafields
Template-level metafields are added to templates before publishing them. These metafields and their values can be changed anytime. Template metafields can be of any type like text, number, date, etc. Based on your business requirements, you can add any number of metafields to a template.
Follow these steps to create a metafield in Templates:
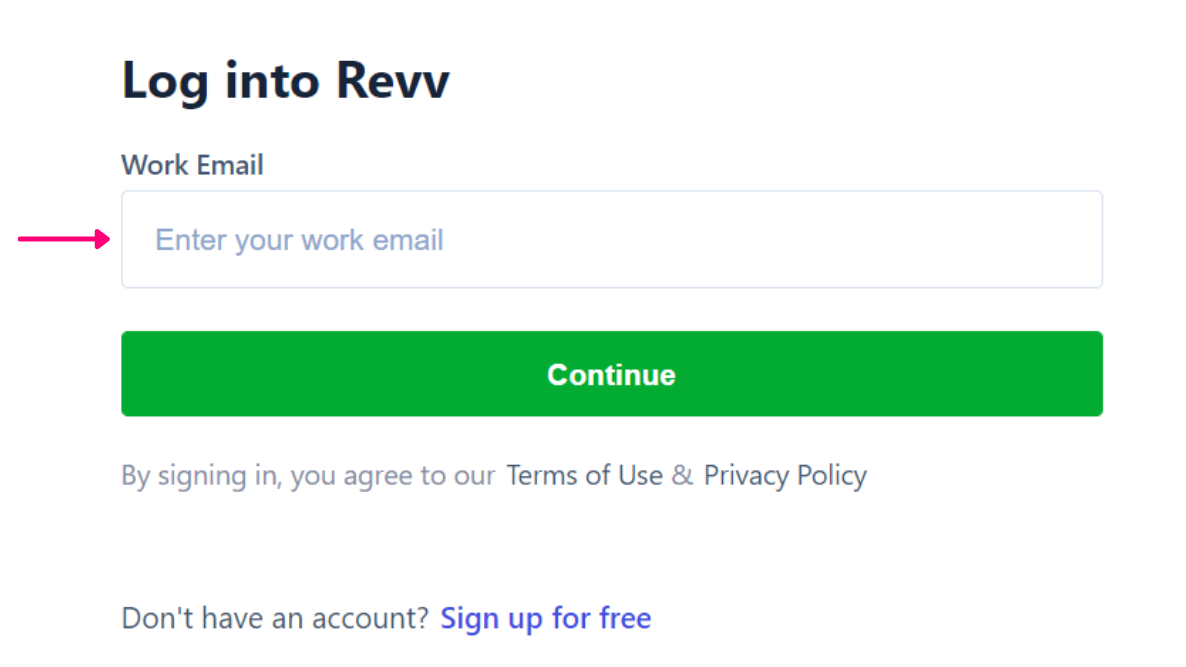
- Log in to your Revv account.
- Go to Templates in the left navbar.
- Click Create Template on the top right corner of the screen to create a new templateor clone an existing one.
- Note: You can edit and add metafields to templates only in Draft status.

- Note: You can edit and add metafields to templates only in Draft status.
- Go to the Metadata tab on the right navbar. Here, you can see two tabs — Template details (system-generated) and Meta fields (custom).
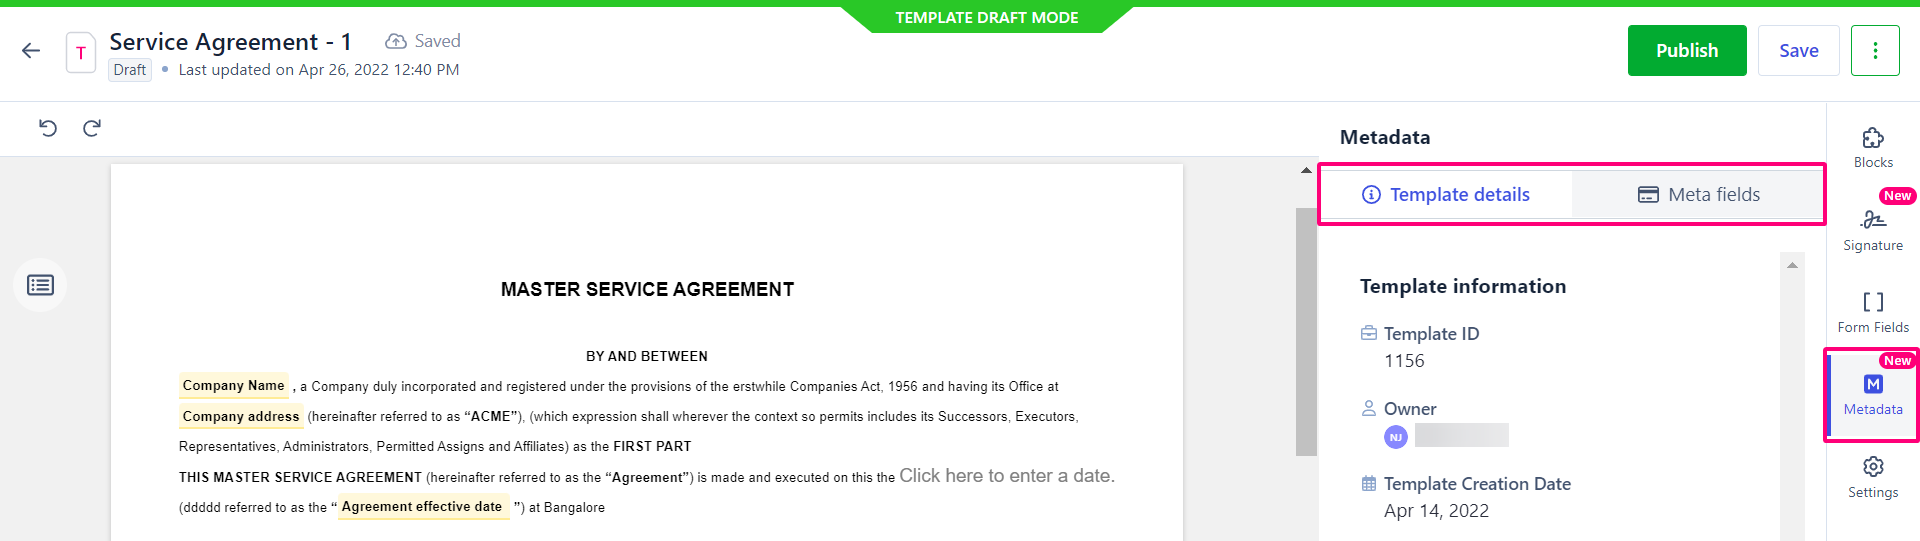
- Click the Meta fields tab.
- Click +Create Template Meta field.
- Enter the following information —
- Field name: The name of the metafield where the information is stored.
- Custom Field Type: The type of the metafield like Text, Multi Select, Number, etc.
- Default Value: The value that will be stored by default if not changed by the user.
- Click Save to add the custom template metafield.
- Click Discard to cancel your changes.
.png)
- Click Discard to cancel your changes.


.png)
After adding metafields, you can make other edits to the template and finally publish it. These metafields can be further used for data mapping, finding documents, organizing, etc.
Note: You can delete a template metafield by hovering over it and clicking the Delete icon. |
Document Metafields
In Revv, on a document level, there are two types of metafields:
- Template Metafields: When you create documents from a template, the template metafields that are present in the template will be moved to the document. You can change the value of template metafields on a document. This will not affect the original template metafields.
- Document Metafields: These are the custom metafields added to the document directly.
| Note: You can edit and change the template metafields even after documents are created from it. This won’t affect any document’s template metafields as they are independent. |
Follow these steps to create a metafield in Documents:
- Go to Documents in the left navbar.
- Click Create document on the top right corner of the screen.

- Click the Request eSignatures box.
- Select a template to create the document or start with a blank document.
- Note: If documents are not linked to a template, then the template metafields will not be visible for the document.

- Note: If documents are not linked to a template, then the template metafields will not be visible for the document.
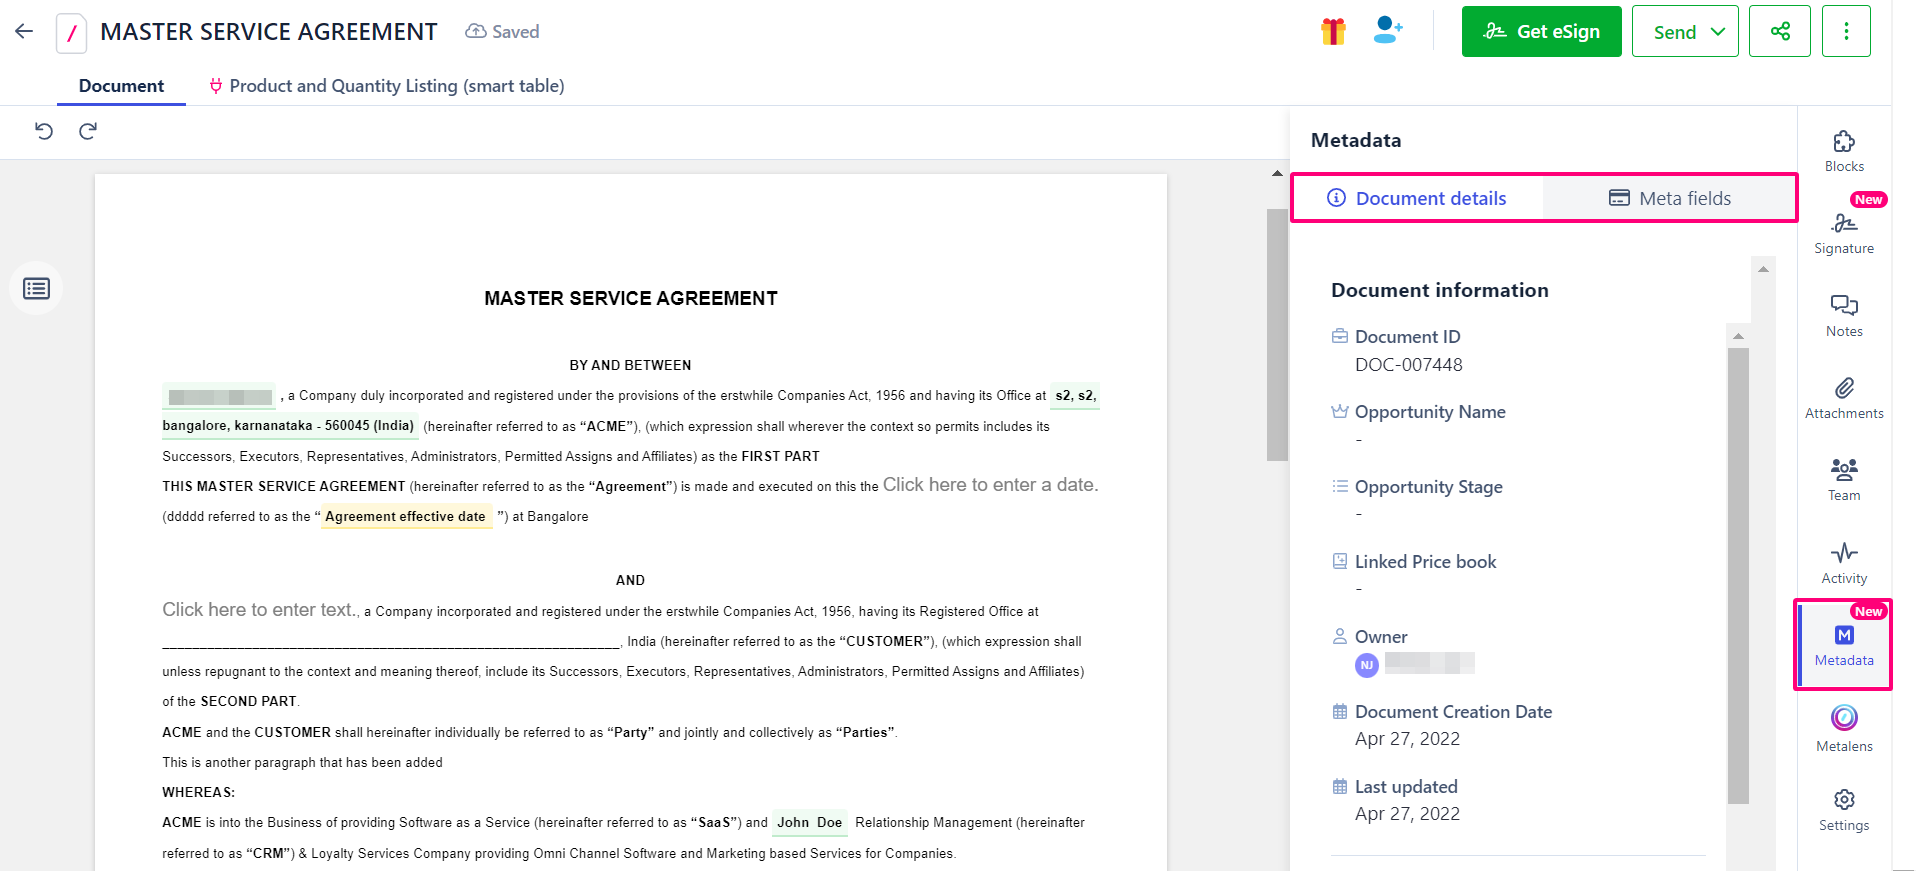
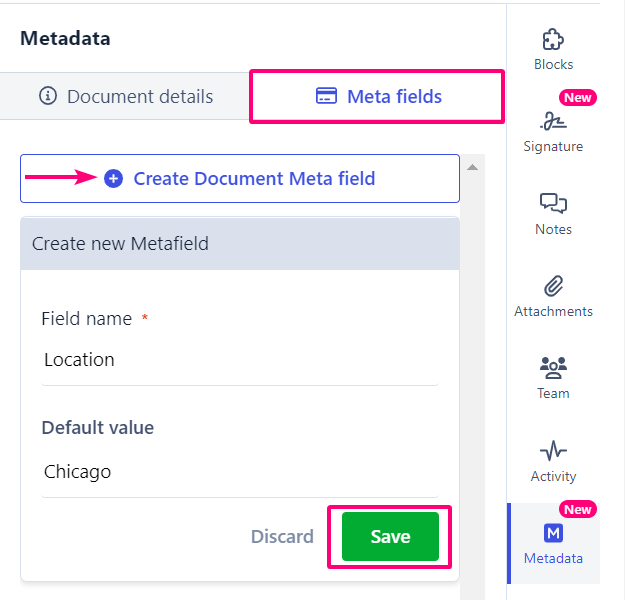
- Go to the Metadata widget on the right navbar. Here, you can see two tabs — Document details (system-generated) and Meta fields (custom).
- Click the Meta fields tab. Here you can view two drop-downs — Template Metafields and Document Metafields.
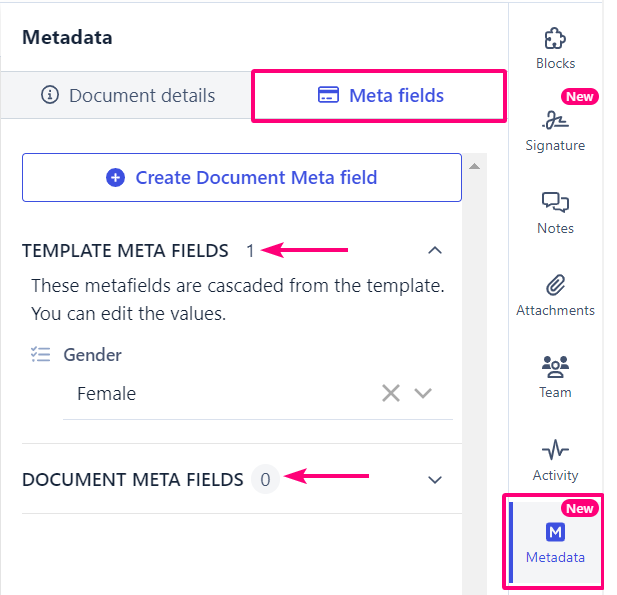
- Click +Create Document Meta field.
- Enter the Field name and Default Value.
- Note: The type of all document metafields is Text.
- Click Save to save the custom document metafield.
- Click Discard to cancel your changes.
- Click Discard to cancel your changes.


After adding metafields, you can send the document for approval, acceptance, or eSignature. These document metafields can be further used to locate a particular document in a plethora of documents.
Note: You can delete a document metafield by hovering over it and clicking the Delete icon. |
Was this article helpful?