Understanding Pipelines
- 22 Feb 2022
- 3 Minutes to read
- Print
- DarkLight
- PDF
Understanding Pipelines
- Updated on 22 Feb 2022
- 3 Minutes to read
- Print
- DarkLight
- PDF
Article Summary
Share feedback
Thanks for sharing your feedback!
Pipelines in Revv are well organized and easily manageable as it follows the Kanban method to handle processes. Hence each pipeline includes lanes that represent a particular stage of a document. You can personalize these lanes according to your business demands like - drafted, reviewed, approved, eSigned, etc.
Here are a few pointers related to lanes:
- Every lane displays the total count of documents in it.
- A lane shows the documents as cards with respect to the documents’ status. The document card contains the name of the document, the owner of the document, and the last updated details.
- You can move documents from one lane to another with a drag and drop action.
- Each document can be moved to another pipeline by clicking the More (⋮) icon in the document card.
- You can add more lanes, customize them and automate document workflows by clicking the Automate Workflow button.

Adding Pipelines
You can add multiple pipelines according to how you want your documents to be categorized. For example, you can create separate pipelines for,
- Different geographies like Asia, Australia, Europe, etc.
- Various types of documents like SLAs, Quotes, Invoices, NDAs, etc.
- Every department like HR documents, Sales documents, Accounting files, and so on.

Did you know? Revv provides a default pipeline where all the new documents you create will be sent, if not routed to other pipelines.
|

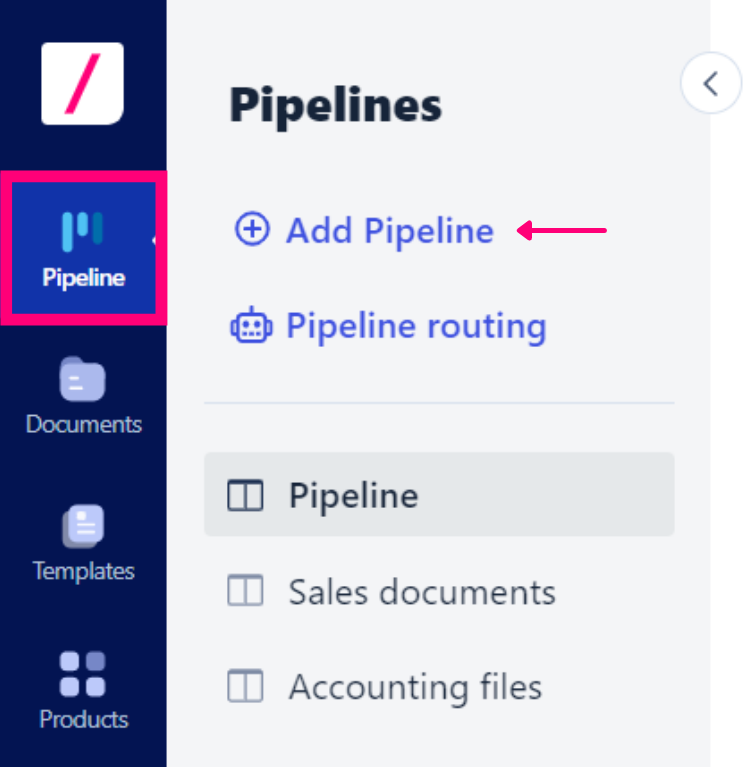
Follow these steps to add a pipeline:
- Log in to your Revv account.
.png)
- Go to the Pipelines tab on the left navbar.
- Click + Add Pipeline in the pipelines listing.
- In the Add a new pipeline pop-up window, enter the Pipeline Name and Pipeline Description fields.
- Click Create Pipeline.
.png)


A new pipeline is added and displayed in the Pipeline Listings along with other pipelines. As soon as a pipeline is created, default lanes are added that are customizable.
Quite easy, wasn’t it?

Editing or deleting a Pipeline
Editing the name and description of a pipeline or deleting it, is simple in Revv. You can achieve it in any of the following ways:
- In the Pipeline Listings, hover over the pipeline name > click the Gear icon next to the pipeline name
.png)
- In the Pipeline’s Kanban View > click the Gear icon next to the pipeline name
.png)
Note:
|


Pipeline Status in Documents
You can view your document’s status or the lane in which it is present and more from the Pipeline Status column in Documents.
Follow these steps to view your document’s status:
- Go to the Documents tab in the left navbar.
- Click + icon to customize columns.
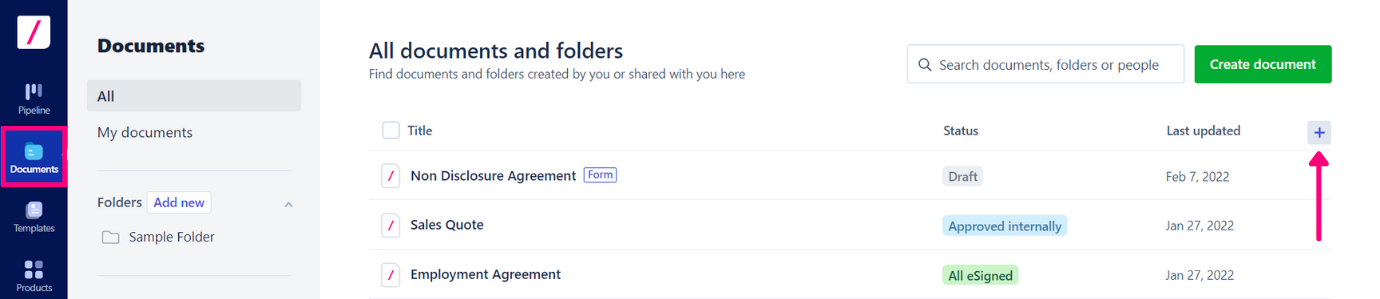
- Turn on the Pipeline status toggle button.
- Click Save.


To change the lane of a document, click the lane name and select another lane from the drop-down for your document.

To know more about Documents in Revv, click here.
Pipeline Routing
As mentioned earlier, all newly created documents land in the default pipeline. If you want certain documents to be redirected to a particular pipeline based on your business needs, then you must configure pipeline routing.
The Pipeline Routing feature enables you to define rules that automatically route documents to the right pipeline. Revv follows template-based pipeline routing. For example, if you want all the Employee Agreements to go to the HR documents pipeline, you can achieve it by adding specific rules in the pipeline routing.
Follow these steps to add pipeline routing:
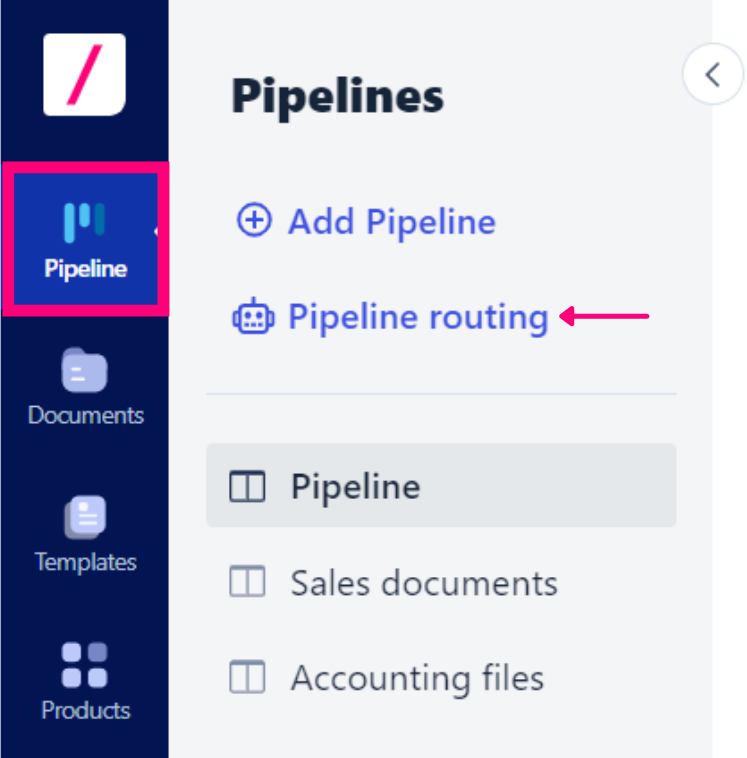
- Log in to your Revv account.
- Go to the Pipelines tab on the left navbar.
- Click Pipeline routing in the pipelines listing.
- In the Pipeline routes pop-up window, Revv has created a default routing rule that states all new documents will land in the ‘Pipeline’ pipeline. The default routing rule cannot be deleted. If no other rules are configured, this default rule will be executed and all the documents will enter the default pipeline.
- Click the Add new routing button.
- Note: All routing rules are defined only for active templates.
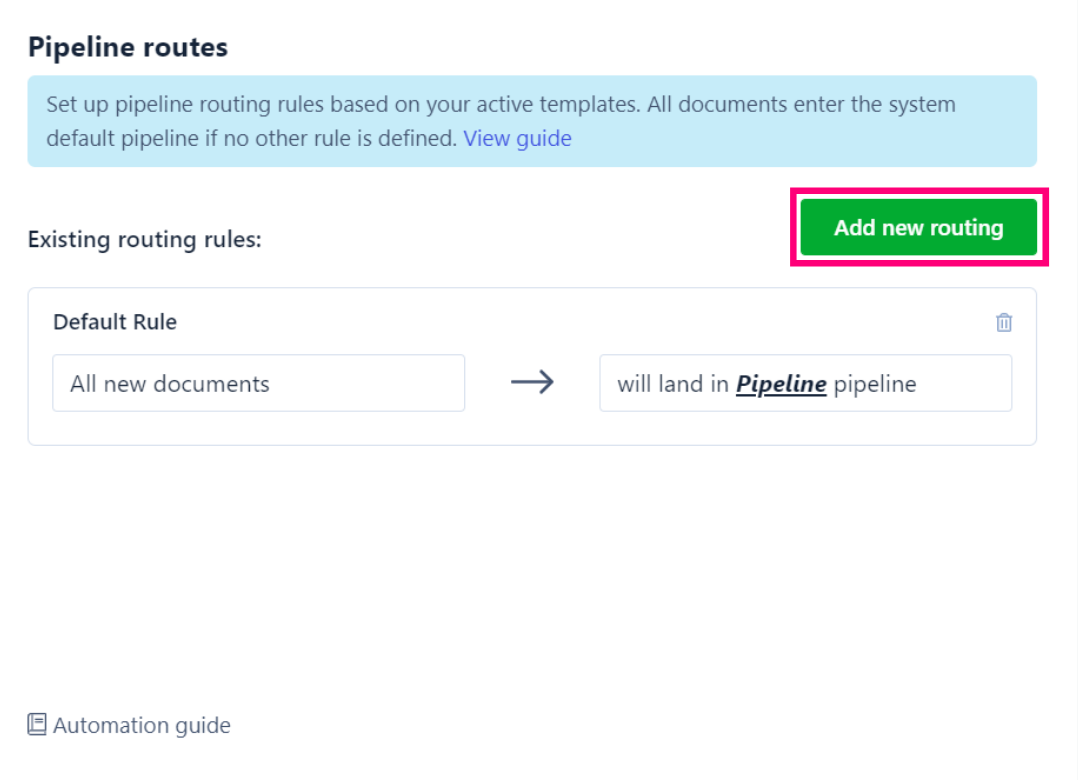
- Note: All routing rules are defined only for active templates.
- Click the Pencil icon to edit the name of the rule.
- Note: All routing rules are configured by selecting a template as the trigger and a pipeline as the action.
- Under Trigger, click the Select template drop-down and select a template.
- Under Action, click the Select pipeline drop-down and select the target pipeline. For example, all documents created from the ‘Employee Agreements’ template will be sent to the HR documents pipeline as a part of this rule.
- Click the Save routing rule button.


Your new routing rule is listed on top of the existing rule(s).
Note: You can delete a routing rule by clicking the Delete icon. |
Once you configure the routing rule, all the documents will be sent to the assigned pipeline based on the rule. You can further automate document movements between lanes inside each pipeline.
Was this article helpful?