Data Mapping using Data Studio
- 09 May 2022
- 5 Minutes to read
- Print
- DarkLight
- PDF
Data Mapping using Data Studio
- Updated on 09 May 2022
- 5 Minutes to read
- Print
- DarkLight
- PDF
Article Summary
Share feedback
Thanks for sharing your feedback!
Data Studio enables you to connect to external apps and bring in your data to Revv using the robust data mapping functionality. It involves the following steps:
- Creating a template
- Connecting external apps for mapping
- Mapping fields from external apps
Let us learn how…
Step 1: Creating a template
All your incoming data from an external app will be mapped to different elements present in a Revv template, such as
- Form fields to automatically fill all occurrences of a specific data field
- Signature blocks to automatically send documents for eSignatures
- Tables to organize data in the form of rows and columns
- Meta fields to store metadata of a template
Hence, having at least one of the above-mentioned elements in a template is mandatory for the data mapping to function properly.

If you already have a published template in Revv with these elements in it, you can go ahead with the data mapping process.
If not, you must log in to your Revv account, go to Templates and create a new template. Further, you can edit it according to your business needs, publish the template and keep it ready for document creation.
To know more about Templates in Revv, click here.

After publishing, you can view the Field Inspector and Data Studio tabs below the template name.
Use the Field Inspector tab to check the form fields, signature blocks, tables, and meta fields present in the template that needs mapping.
Use the Data Studio tab to connect with external apps for data mapping.
.png)
Step 2: Connecting external apps for mapping
Once you have a template ready with all the required elements, you can connect with other business platforms like Salesforce, Hubspot, etc., for data mapping. Revv also supports CSV as a data source for your mapping.
You can connect Revv to external data sources from two places:
- Settings > Integrations
- Templates > Data Studio

To integrate, select your data source and provide Client ID and Client Secret values. After successful authentication, a green tick mark will appear on the respective data source.

| Note: You can authenticate other data sources also. But you can only map fields and objects from only one data source at a time. |
Step 3: Mapping fields from external apps
To understand mapping clearly, let us use Salesforce as the external data source.
Once you have established a connection between an external data source (here Salesforce) and Revv, go to Data Studio in any template and click the Salesforce box. Here, you can map different elements in Revv’s Templates to Salesforce’s fields.
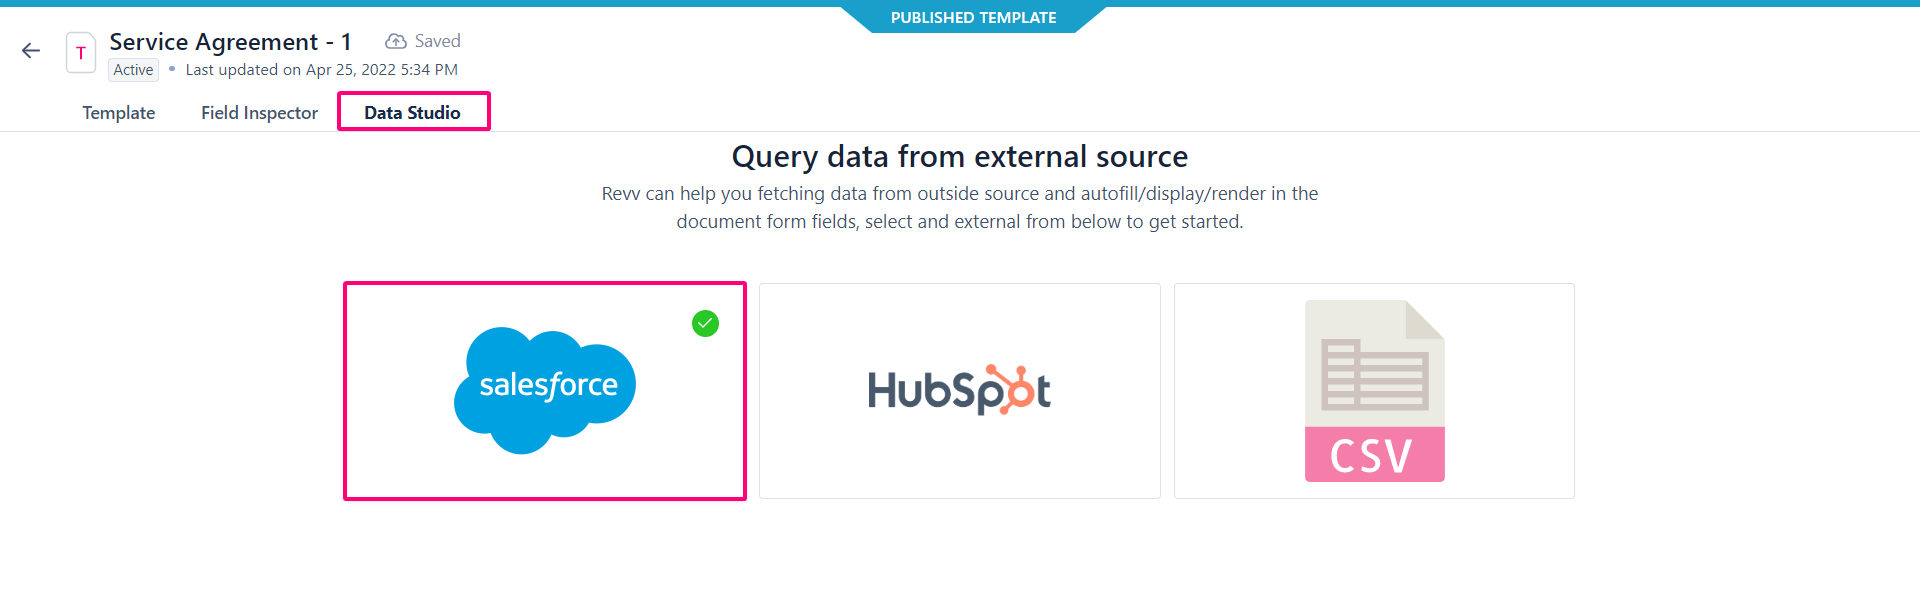
You can see that the page is divided into two sections:
- Salesforce objects with their fields on the left.
- Revv’s form fields, signatories, smart tables, and meta fields are on the right as drop-downs.

Note: To change the data source, click the left arrow below the Data Studio tab. |
Follow these steps to map the data:
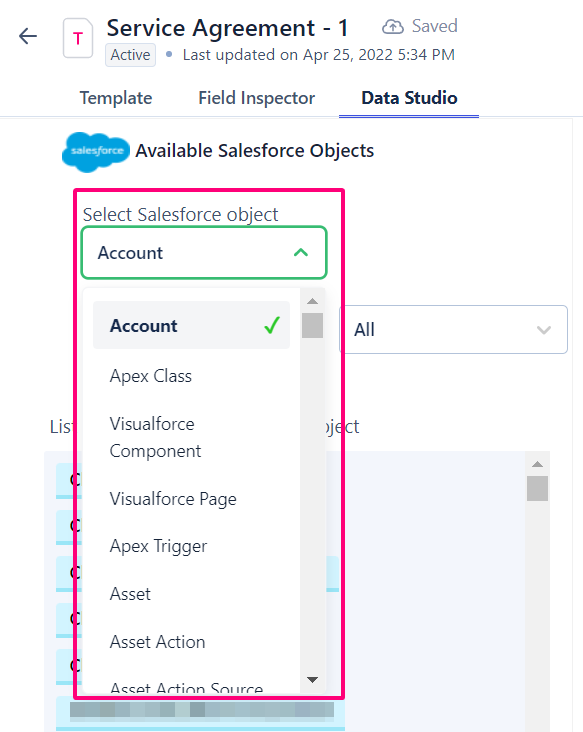
- Click the Select Salesforce object (Accounts, Opportunity, etc,.) drop-down.
- Select any object from the list to map the fields in that object to the template’s fields. Let us use the Account object in this instance.
- Note: You can map fields of one or more objects in a data source. The mapping will be automatically saved.
- Note: You can map fields of one or more objects in a data source. The mapping will be automatically saved.
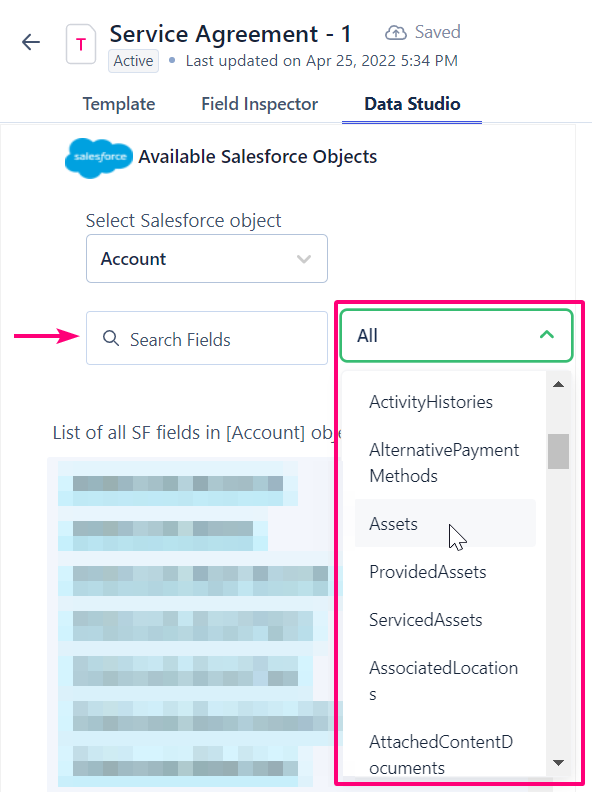
- From the Salesforce field pool, you can search for the direct fields or filter the list of related fields by clicking the drop-down next to the search.
- To map, select any drop-down on the right, either Form Fields, Signatories, Smart Tables, or Meta fields. All the fields present in the template are displayed by default.

- Click the + icon and select a field from the drop-down.

- You can also drag and drop a field from the list of fields to the mapping.
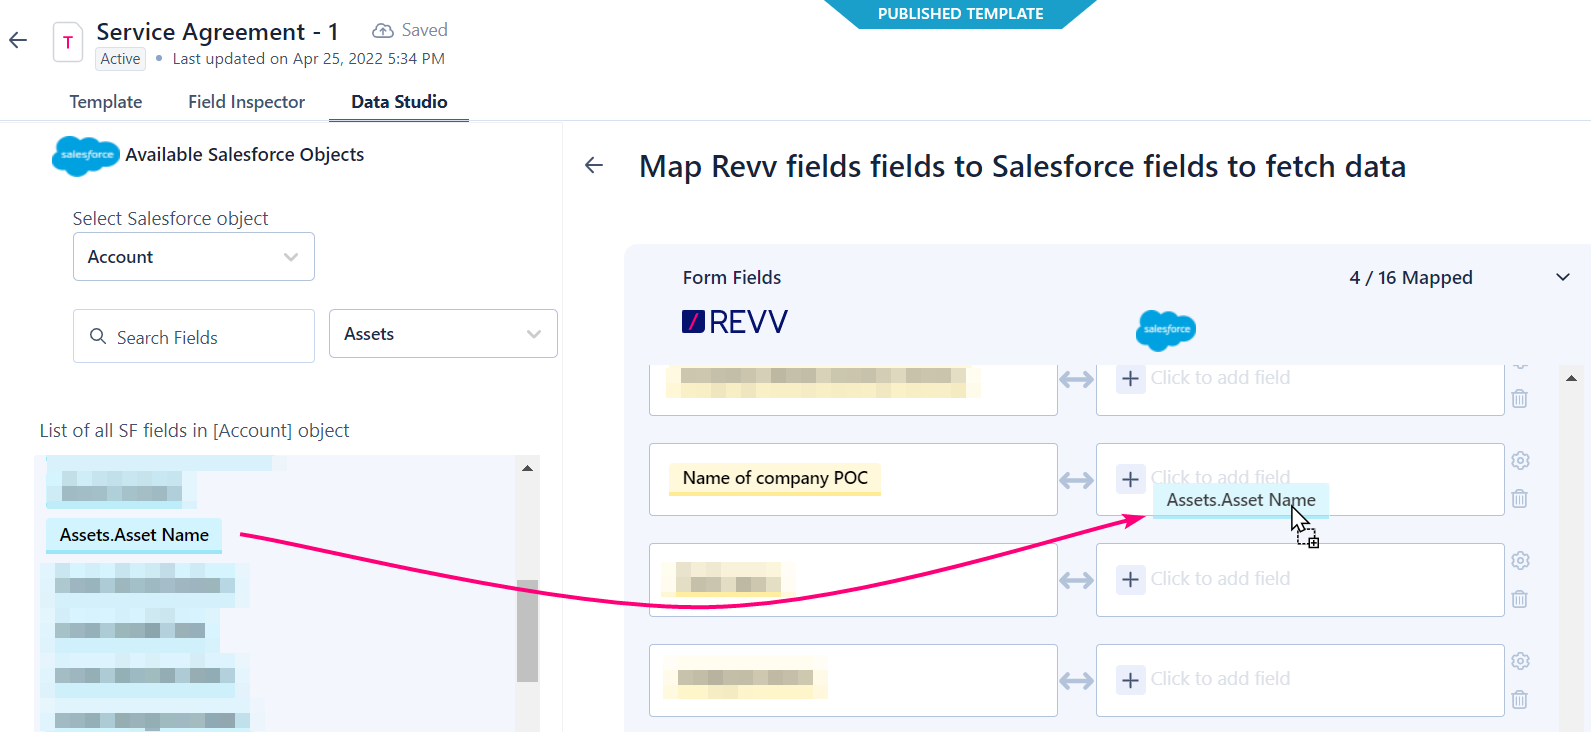
- You can map the same Salesforce field to two different Revv fields.
.png)
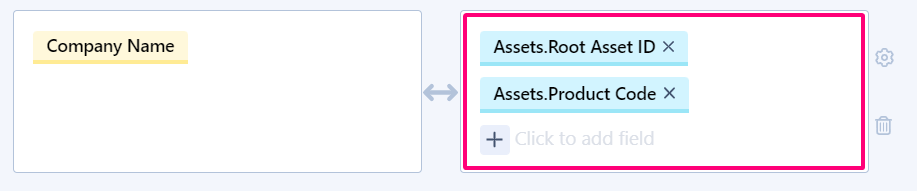
- Note: You can map one or more Salesforce fields to Revv fields, but not vice-versa. For example, you can map Assets.Root Asset ID and Assets.Product Code fields in Salesforce to the Company Name field in Revv, but not the other way round. Now both Assets.Root Asset ID and Assets.Product Code field values will be placed in the Company Name field.
- You can also drag and drop a field from the list of fields to the mapping.
- Once your mapping is finished, click the Sync now button on the top-right corner of the screen.
.png)
- In the Select date range before syncing pop-up window, enter the Start date and the End date. Only data created during the selected period will be fetched.
- Click Fetch data.
- Note: You can fetch data of only one object’s mapping at a time. For example, if you have mapped fields of both Account and Opportunity objects, you can only bring in the Account object’s data.


.png)

.png)
.png)
Once the operation is successful, all the data from Salesforce’s object within the specified time range will be displayed in the Data Studio tab. The results are in the form of spreadsheets wherein,
- Only the records assigned to you are displayed here. If you are an Admin, you can see both your and your subordinates’ records.
- The first row contains the mapped Revv fields.
- Each column has Salesforce field values with respect to the Revv field mapping. For example, the Address-City column (Revv field) contains all the Parent.Billing City (Salesforce field) values.

Post mapping options
Once the mapping is complete, you can do the following:
- Click the Data studio config option to change the object or field mapping.
- Click Sync from Salesforce option to change the specified time range.
- Click the Select data source option to change the data source from the current one.

Other actions possible during data mapping
Data Studio enables you to transform your incoming data and decide how they must be displayed in Revv. You have the following options:
- Trim - If any field value in Salesforce data has extra spaces, it will be trimmed during mapping.
- Mask - This helps you to mask any confidential Salesforce data with any(one) character during mapping.

- Mark this as a primary field - When a Revv form field is marked as a primary field, it will be the first column displayed once the mapping is done.
- Concat - This option is visible only if two or more Salesforce fields are mapped to a single Revv’s form field. It allows you to specify any(one) character that will be used to merge the Salesforce fields’ values.


Follow these steps to transform your data:
- Click the Data studio config option to go back to the existing mapping.
- Click the Transform icon next to the mapping. A Transformation settings pop-up window opens.

- For every Salesforce field, you have two options - Trim and Mask.
- You can delete a transform option by clicking the Delete icon next to it.
- Note: One field can have any number of Trim and Mask transformations.
- For the Revv field, you have two options - Mark this as a primary field and Concat.
- Once done, click Apply transformation to save your changes.
.png)
- Click Sync now on the top-right corner to view changes in your data mapping.
Note: To delete a mapping, click the Delete icon next to the mapping. |
You can go to the Form Inspector tab and check the Data Source column. All the form fields that are mapped have the data source as Salesforce.

Once the data mapping is done and you have the right information in place, you can take bulk actions on documents from Data Studio.
Was this article helpful?